Overview
This guide helps you set up the Shopify backup assistant integration with Shopify Books using BluePeacock services.
📧 Contact
Need help? Contact our support team at support@bluepeacock.in
Pre-requisites
Before beginning the integration process, ensure you have the following:
- Administrator access to your Shopify Books site.
Help Video
Watch the Setup Tutorial
This video walks you through the entire setup process from installation to first backup.
Installation
Follow these steps to download and install the Shopify Books Shopify backup assistant integration:
- Visit the Shopify marketplace: Click on the install https://marketplace.shopify.com/search?searchTerm=bluepeacock
- Confirm installation: Double-click the downloaded file and follow the on-screen instructions.
Install from marketplace
For now, the assistant can only be installed in Shopify Books.
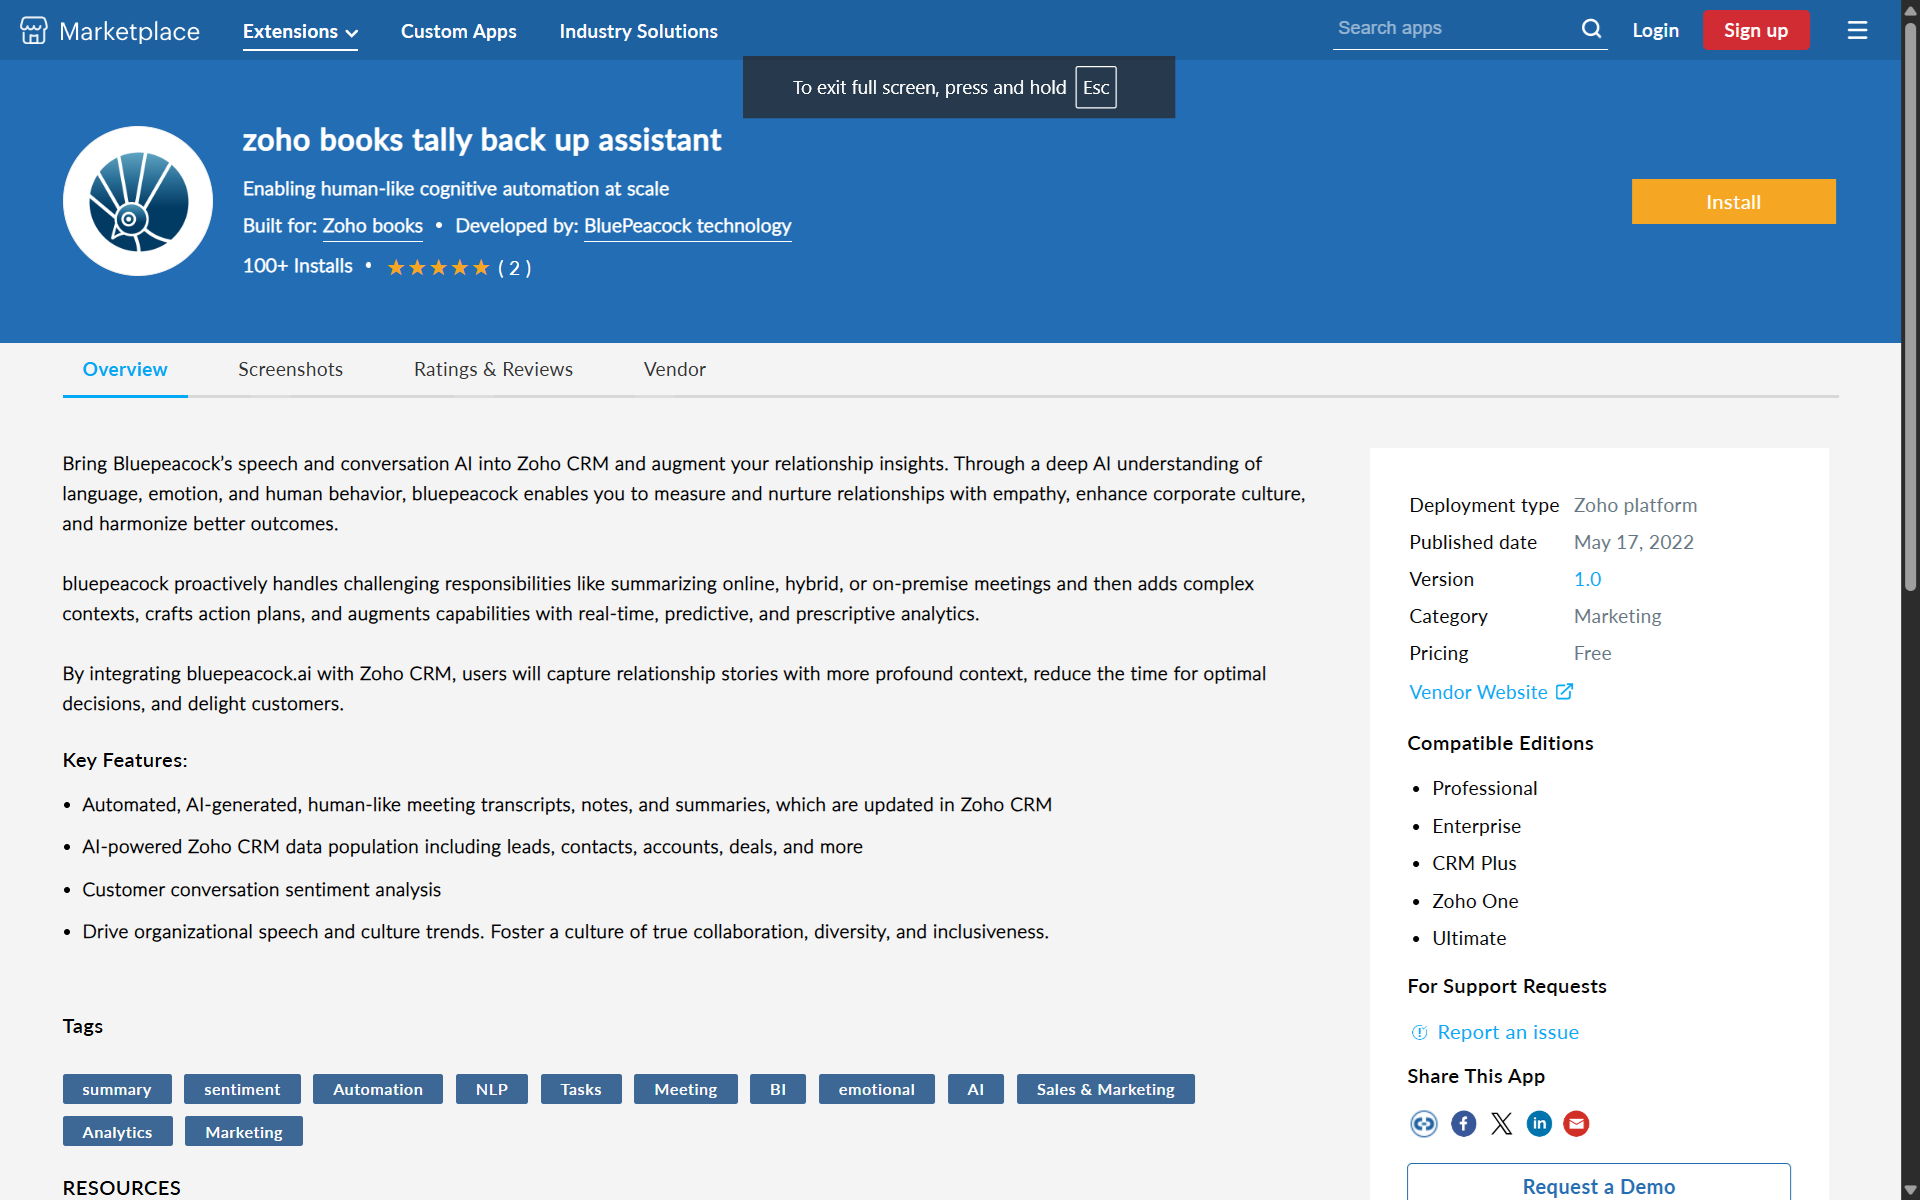
You can request a free demo by emailing us at support@bluepeacock.in. We will be happy to provide one.
Confirm installation
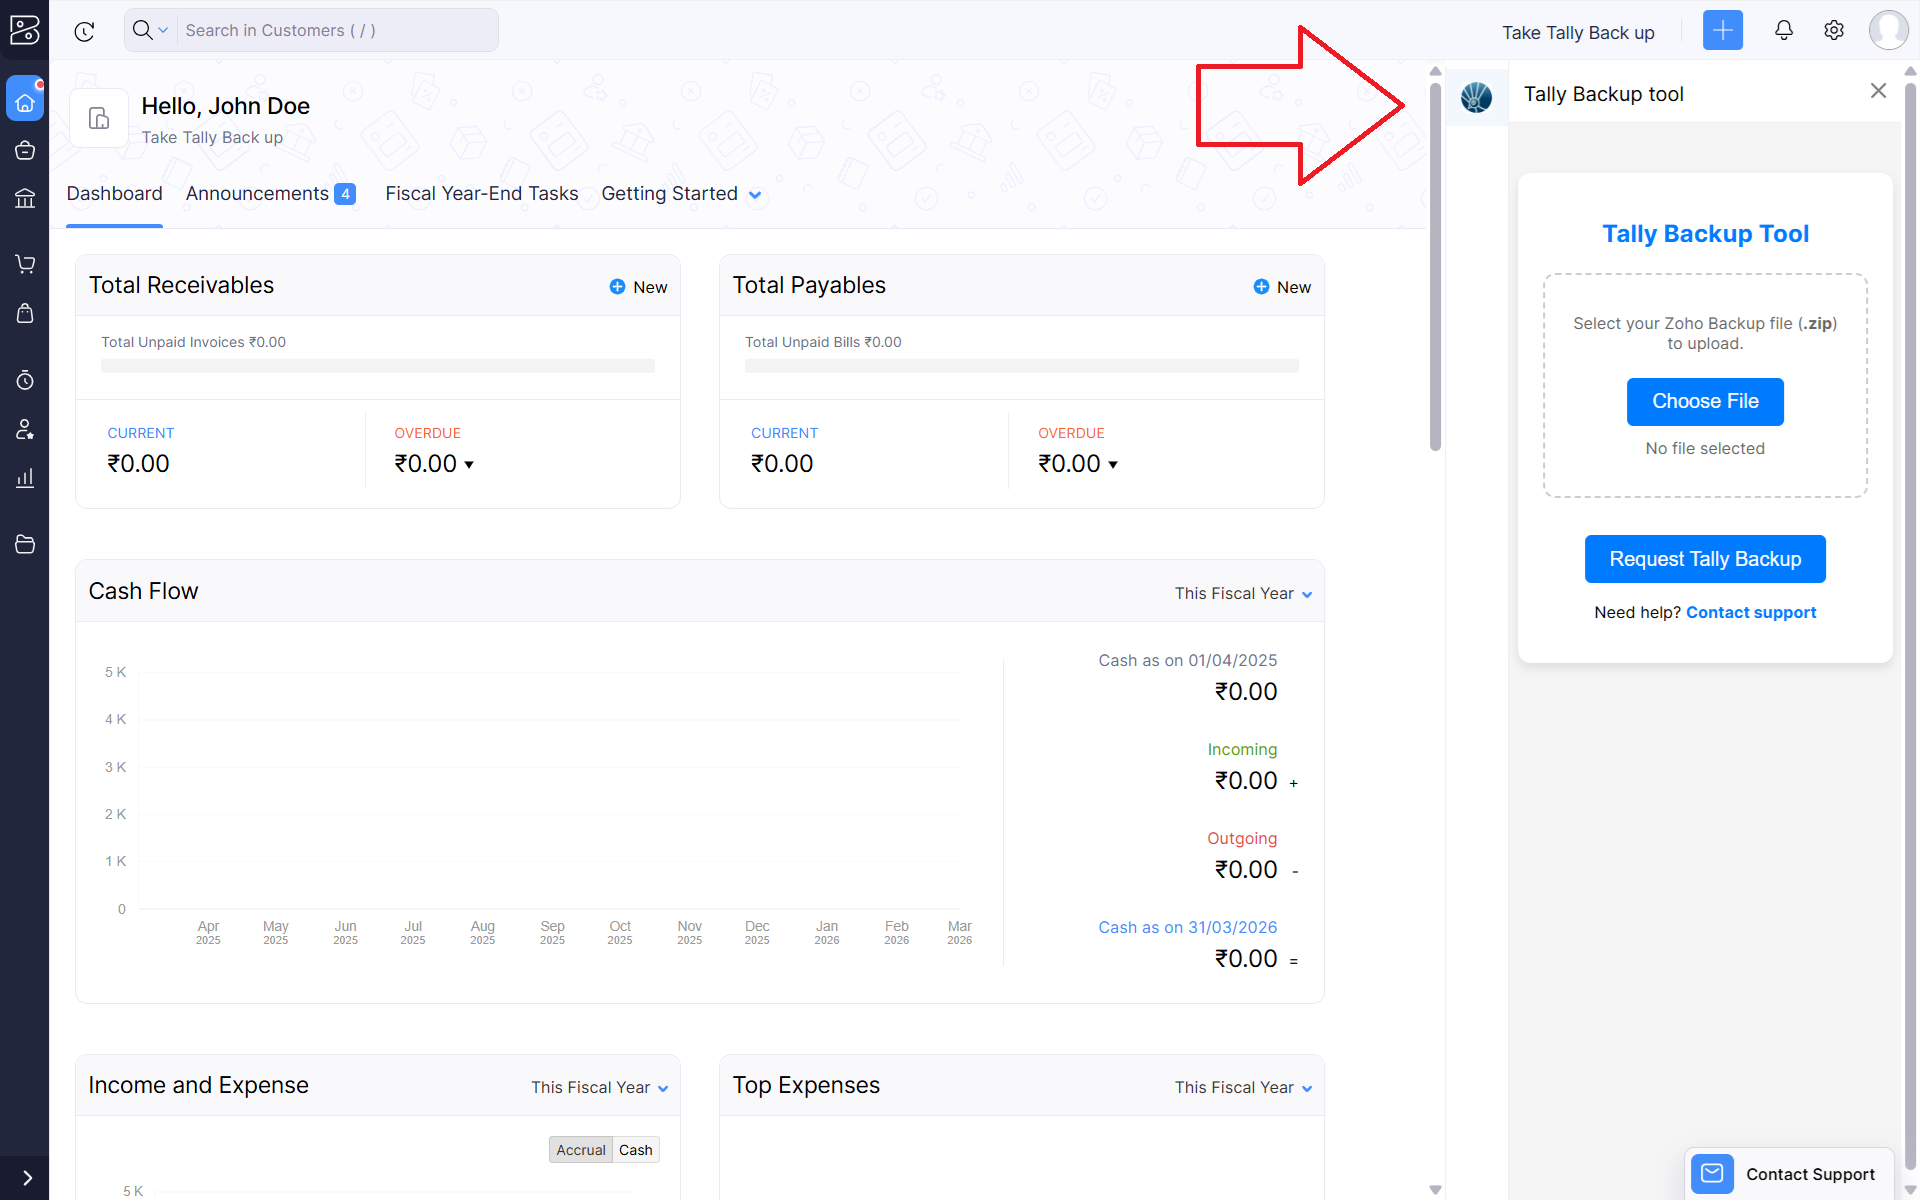
After installation, you should see our company's logo on the right side panel of all pages. Clicking it will show the plugin.
✅ Success: After saving, BluePeacock will now recognize back up requests from your Shopify instance.
Backup Process
Documentation content for this section is coming soon. Please check back later or contact our support team for immediate assistance.
1. Get Shopify Book back up from settings
Shopify Books allows you to export your complete organizational data as a single compressed file. The file includes CSVs from various Shopify Books modules.
To initiate a backup:
- Go to Settings (top-right corner).
- Select Data Backup under Developer Space.
- Click the tab on the left side of the page.
- Click Backup Your Data to initiate the process.
- Once ready, click Download to get the backup (.zip).

2. Upload Shopify books through the plugin
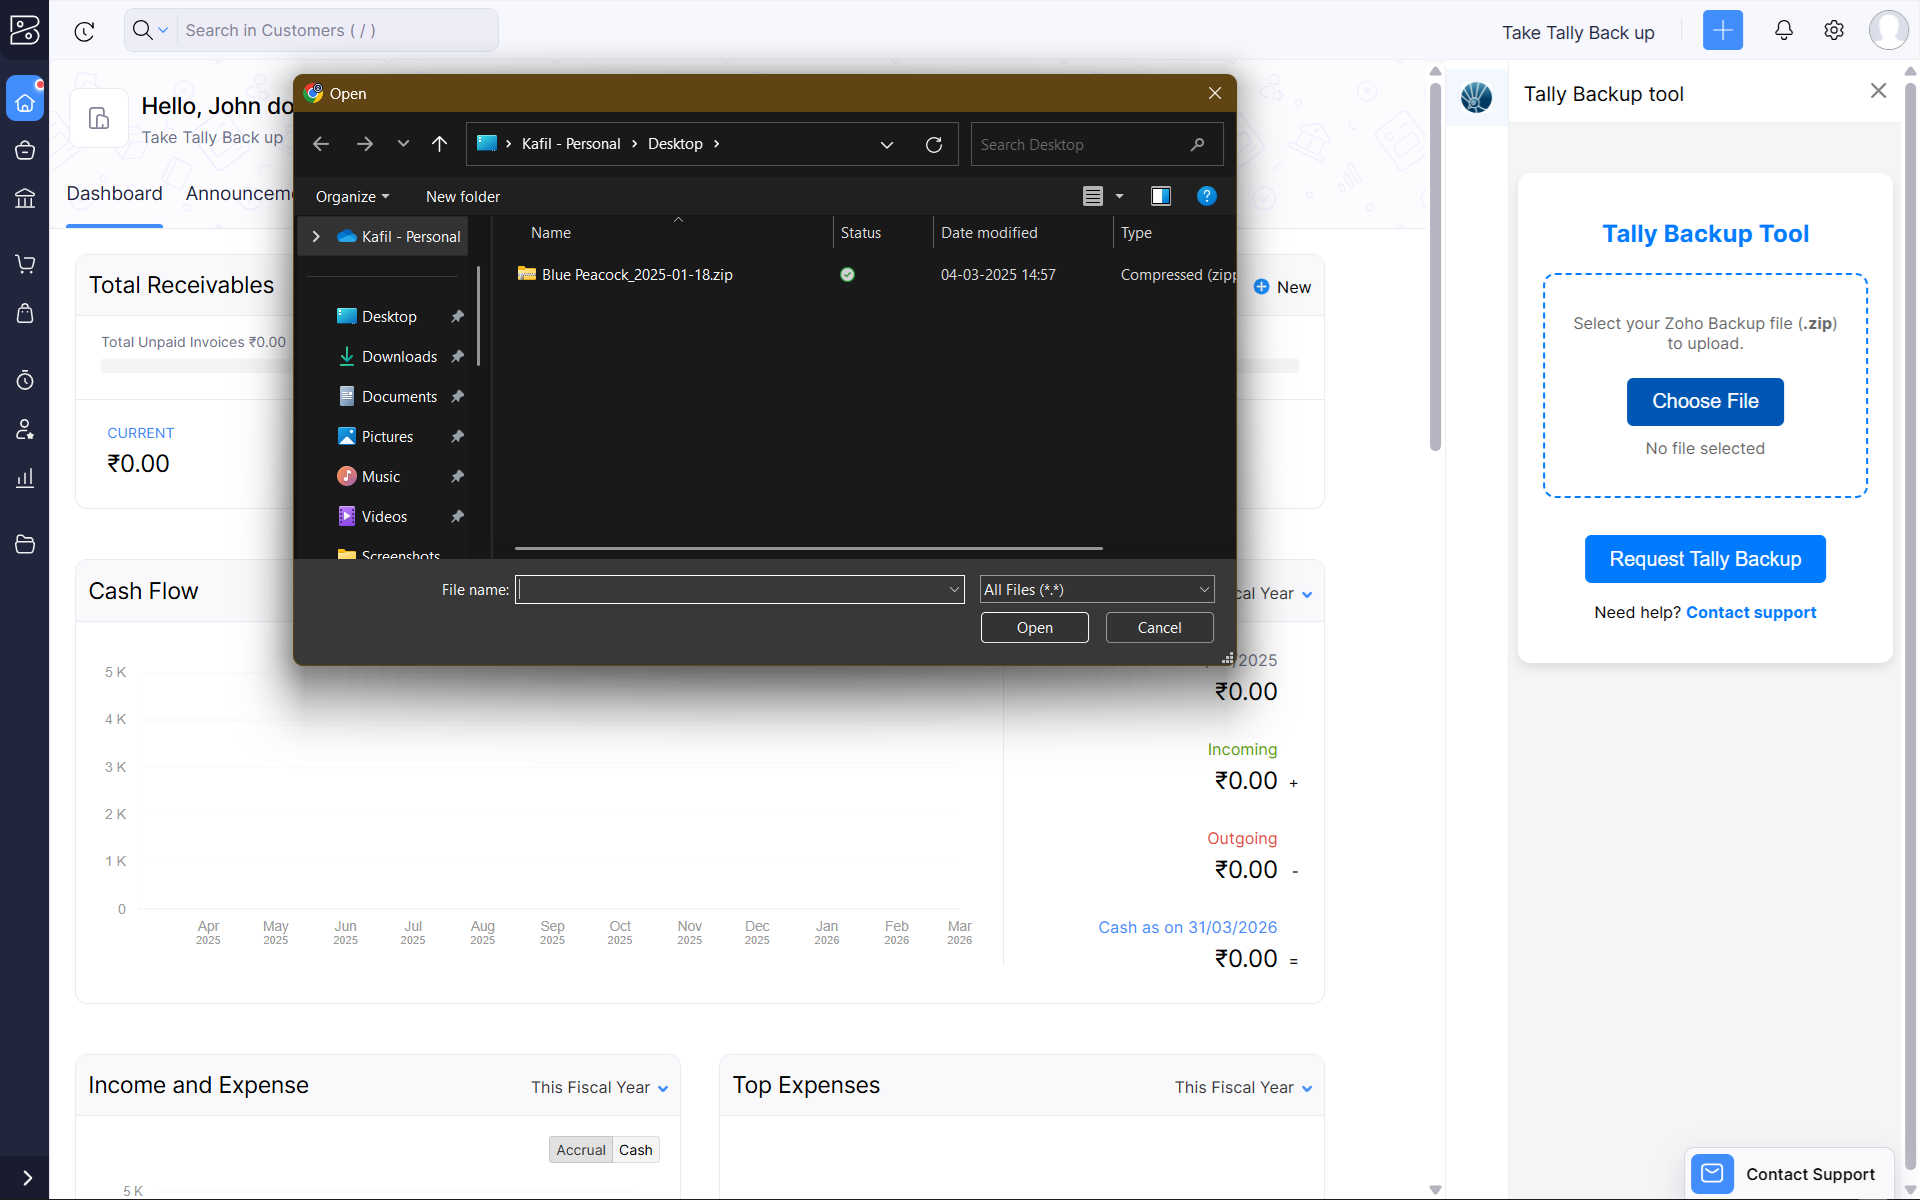
- Open the BluePeacock plugin and click Upload Backup.
- Choose the file downloaded from Shopify Books.
- The plugin will validate the file before proceeding.
- Click on Request Shopify backup to send request to us with the back up file
- There will be success message from our side on receiving the request .
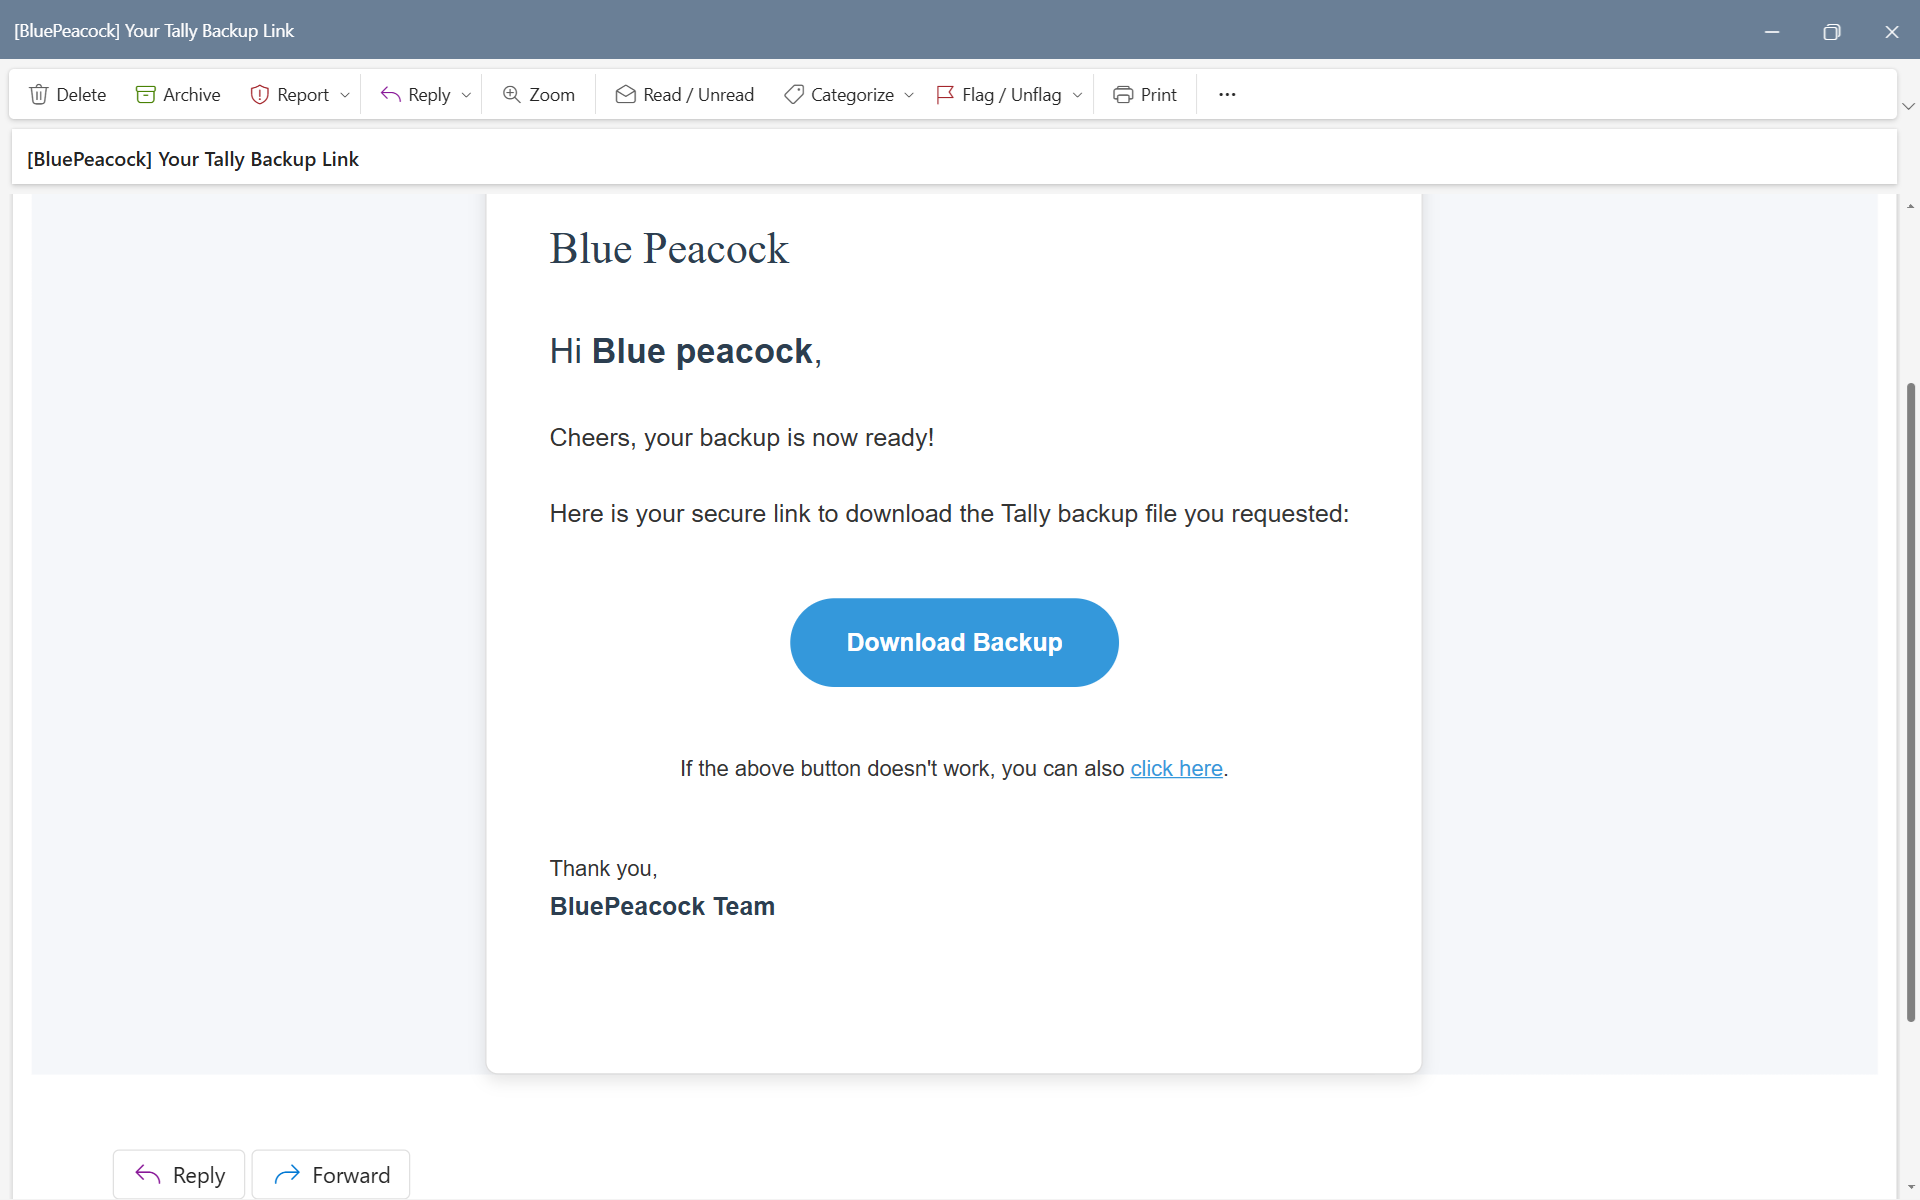
3. Waiting for inbox for download link
- After the upload completes, you'll receive an email at your logged-in work email address once processing is done.
- Depending upon number of requests and size of the backup(.zip), the time can be anywhere from few hours to 2 days .
- Look for a subject like "Your Shopify-backup link is ready".
- Click on Download button to download Shopify back up to your computer.
- The zip will have 10000 folder which will be shopify data.
4. Using Shopify to open shopify backup
- Open Shopify ERP 9 or Shopify Prime.
- On the startup screen, select Company Info (or press Alt + F3).
- Choose Select Company.
- In the pop-up, click F1: Select Directory (bottom or top right, depending on version).
- Browse to the location where your backup folder (e.g.,
10000) is stored. - Click on the folder name (e.g.,
10000) and press Enter. - Shopify will now display the Shopify book data.

Final Notes
That’s it! Your Shopify Books data is now accessible in Shopify. If you encounter issues with mismatched accounts or missing entries, refer to the Logs section in the plugin dashboard. For advanced mapping and automation, visit the Settings tab in the plugin.